Build a ultra-fast WordPress virtual machine "KUSANAGI" with GCP

目次
What is the ultra-fast WordPress virtual machine "KUSANAGI"?
Ultra-fast WordPress virtual machine "KUSANAGI" is a virtual machine and its image to run WordPress at high speed developed and configured by Prime Strategy Co., Ltd.
Think OS, server software, and WordPress as one package.
WordPress has been tuned to work at high speed, it is said to be 10 times faster than the normal WordPress environment.
tried to explain the speed of KUSANAGI WordPress in an easy-to-understand manner - Tech Blog -
About the Ultra-fast WordPress Virtual Machine KUSANAGI - Official Site -
Benefits of faster speed
There are the following advantages by speeding up WordPress.
- Faster display speed reduces user stress
- Editing articles and WordPress operations are faster, so operator's work speed is improved and stress is reduced.
- Affects SEO (Slow sites rank lower in search engines).
Disadvantages of KUSANAGI
I think faster is better, but you need a server with more than 4GB memory to get the best performance of KUSANAGI.
It is not suitable for those who want to use it for personal hobbies and trials because it cannot be used for free.
However, i think it is not an exaggeration to say that KUSANAGI which can speed up even if there is no technology is necessary if it is thought about monetization in the future.
About cloud services and costs compatible with KUSANAGI
There are several cloud clouds that are officially supported for KUSANAGI, such as AWS, Azure, and GCP, but KUSANAGI itself is available under an open source license and is available free of charge.
Users only pay for server costs running KUSANAGI.
Cloud services compatible with KUSANAGI - Official Site -
Start KUSANAGI with GCP
KUSANAGI VM creation works well if you follow the instructions on the official website.
Marcketplace is very easy.
Open Marketplace and search with kusanagi, it will be displayed immediately
If you do not care about the specifications, recommend that you use vCPU x 2 and memory 7.5GB as shown on the official website.
Since I wanted to keep costs down, I deployed KUSANAGI for GCP with the default specifications of vCPU x 1 and 3.75GB of memory. (Minimum specifications for using KUSANAGI)
KUSANAGI for GCP - Official Site -
KUSANAGI Initialization
When booting is complete, press the SSH button to open the console (black window).
We will proceed while supplementing with reference to the official website.
KUSANAGI Initialization - Official Site -
For now, enter the following command to switch to an administrator.
sudo su
cd /root/
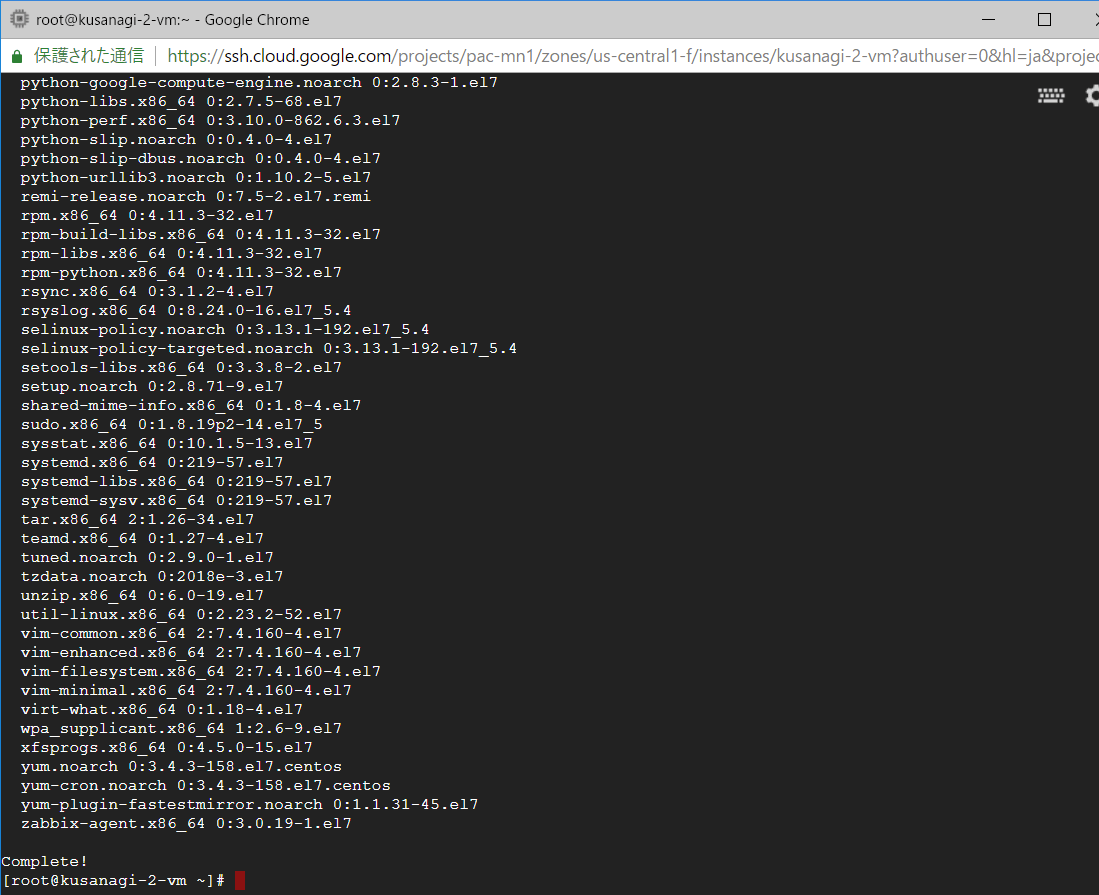
System Update
Update your OS and KUSANAGI system with the following commands:
yum --enablerepo=remi,remi-php56 update -y
It takes a little time.
When you are finished, enter the following command and restart.
(You may start →Stop from the vm instance page of compute engine from the navigation menu.)
reboot
Press the reconnect button.

Start initialization
Now that you've restarted, let's switch to administrator again.
sudo su
cd /root/
If you type the initialization command without options, it will proceed interactively in order.
kusanagi init
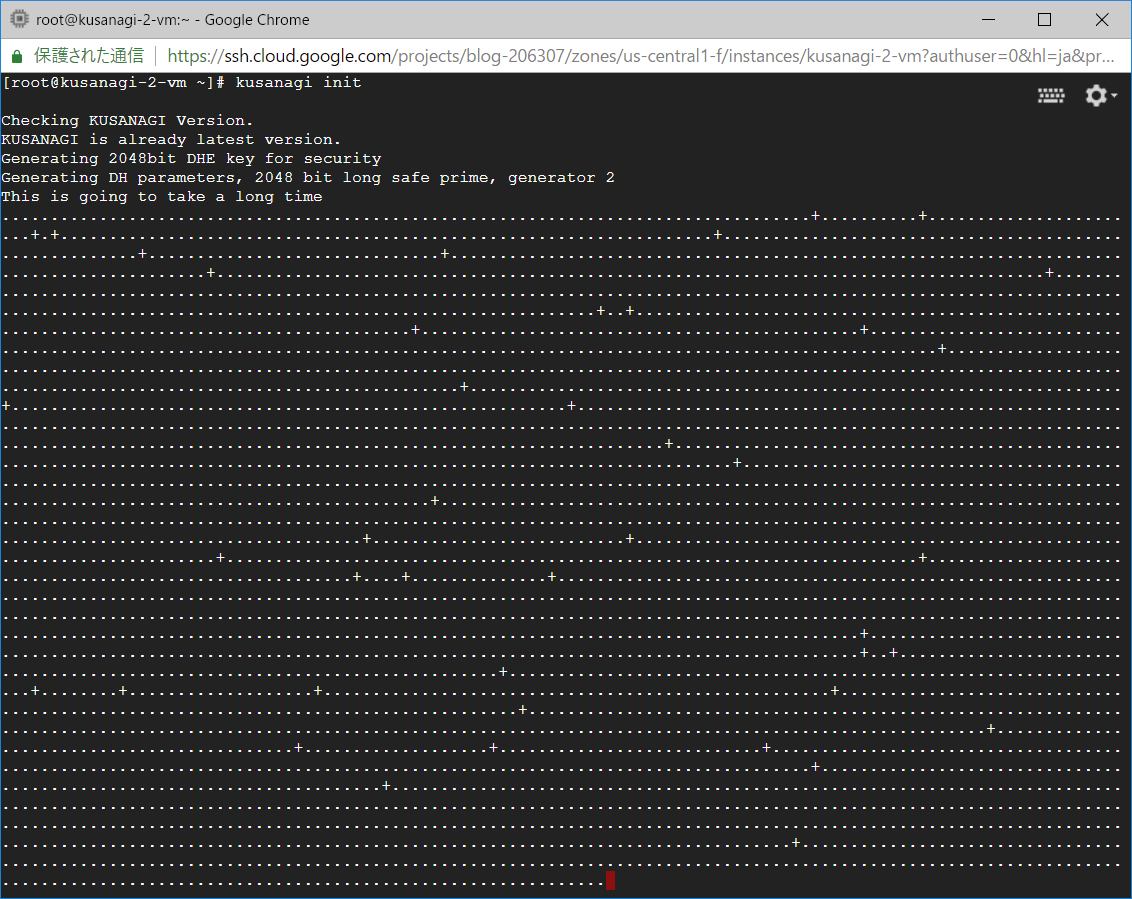
Please wait...
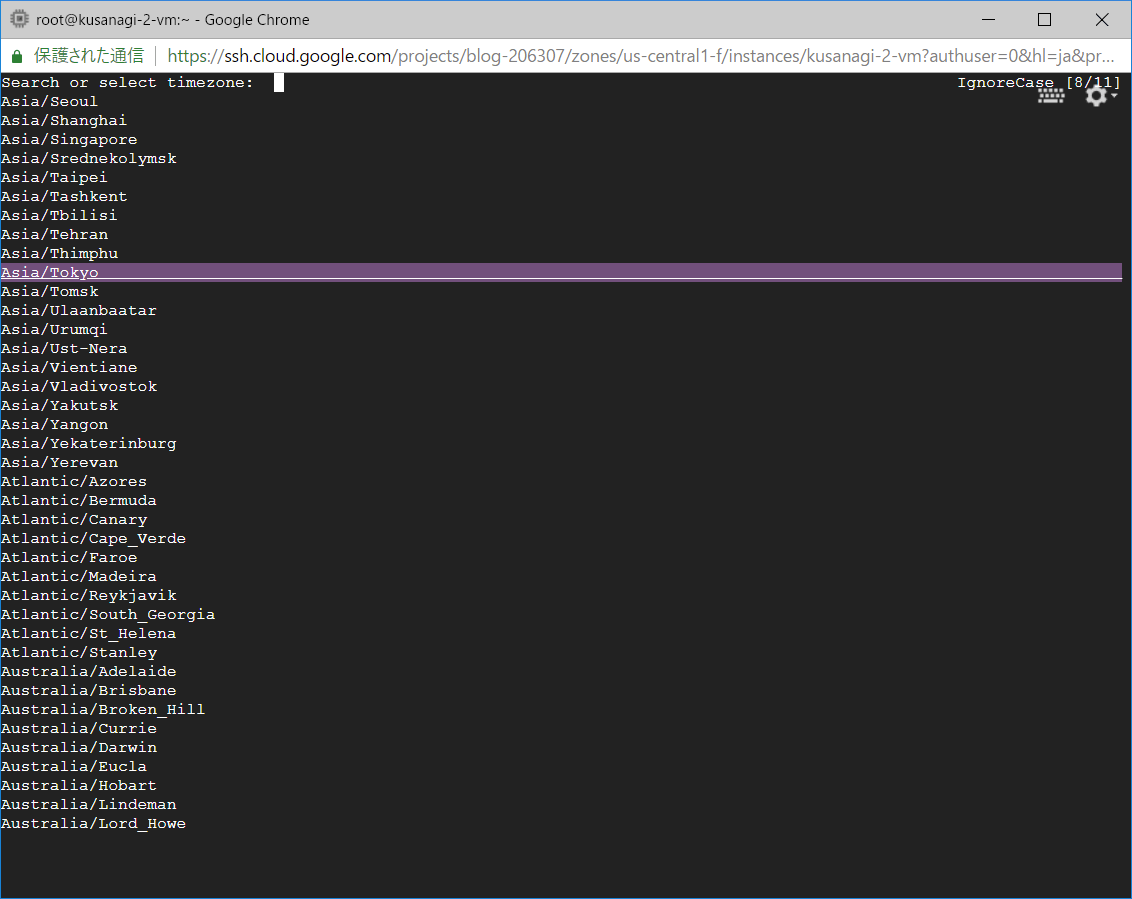
Server time zone settings
The first is the time zone setting.
The region / country name is listed. Select your region / country name on the keyboard up / down / left / right and press the Enter key.
You can switch pages with the left and right keys and move the up and down keys one by one.
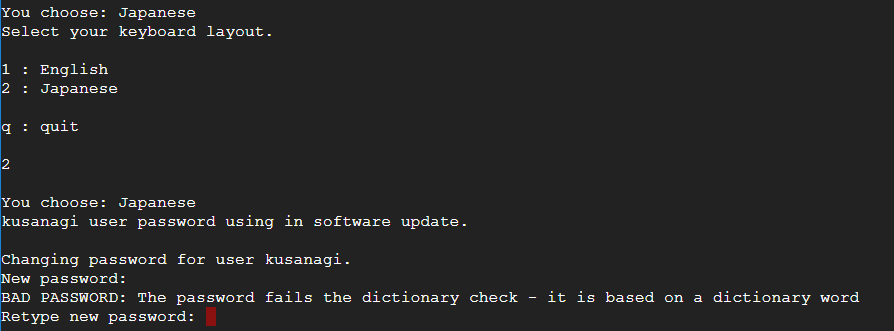
Language and keyboard layout settings
Select the language you want to use.
In English, enter 1 and press Enter.
It is the setting of the keyboard layout continuously.
Similarly, if it is In English, enter 1 and press Enter.

Setting user passwords
Set the KUSANAGI user password.
Bad PASSWORD is displayed as BAD PASSWORD when it is easy to guess by using a short or simple word, but it does not mean that it cannot be set.
Retype new password:
And so you enter the same password is OK.
*It is not displayed even if you enter the password.
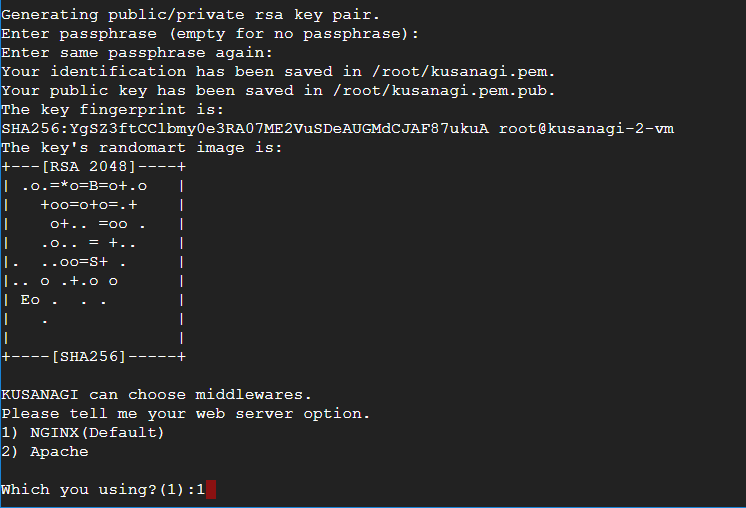
SSH key authentication settings
Set a password for SSH authentication.
It must be at least 5 characters long.
If you press enter without entering anything, the password will be empty, but if you want security, set the password.
This also requires the same password twice as when setting the user password.

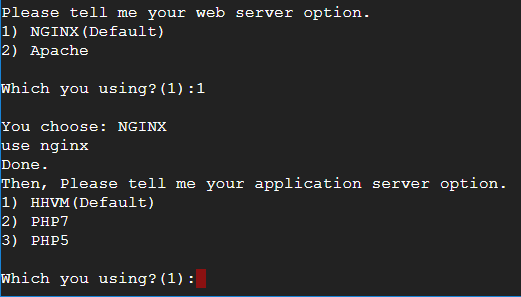
Web server settings
Select the software for the web server.
Unless you need Apache, the default Nginx is fine.
Nginx specializes in processing simultaneous access and is light and fast.
If you press enter as it is, it will be set by default.
(Enter 1 and press enter is ok.)
Setting up the application server
HHVM is the default, but WordPress does not officially support HHVM.
Choose PHP7 because PHP7 is very fast.
Ruby Settings
Select ruby version.
Because there is no choice, press enter as it is.

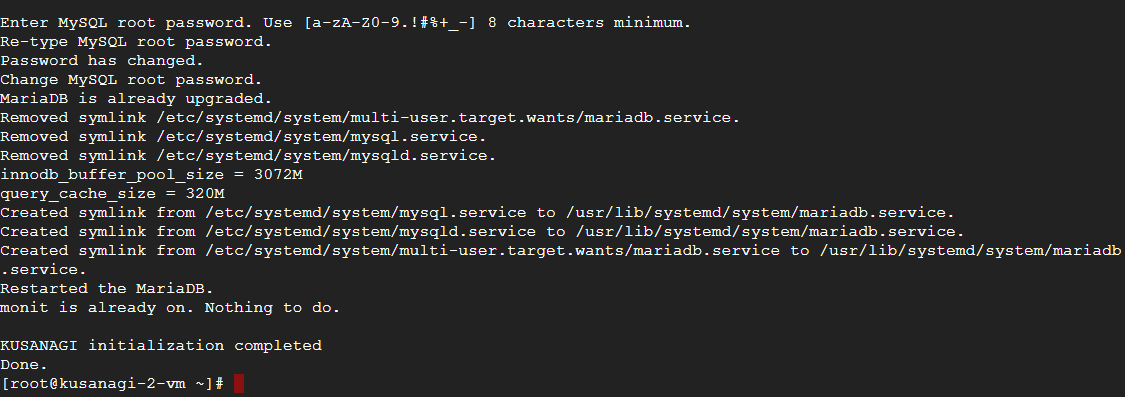
Setting up the database
If there is no sticking, it is OK with the default MariaDB.
Let's just press enter.
Then, it is password setting of MySQL.
Alphabet case, number, ".! Set a string of 8 characters or more configured in one of the #%+_-".
Enter this same password twice.

Initialization complete
The initial setup is complete.
If you want to do various initial settings individually, put a space after the init and add the option.
Example)
kusanagi init --lang ja
Provisioning
Provision of KUSANAGI - Official Site -
Next, provision (wordpress working folders, DNS, SSL certificates, database name settings, etc.).
This can also be set for each item, but at first, enter the following command and set it all in order.
kusanagi provision [any profile name]
The [optional profile name] part is named in 3-24 characters with large and small alphanumeric characters and some symbols (a~z, A~Z, 0-9, ._-).
Then a directory called /home/kusanagi/[any profile name] /is created, and a document root is created in this.Contains the data needed to install WordPress.
I think that it only has to do by kusanagi_html like an official example.
Kusanagi provision kusanagi_html
WordPress installation language
When you start provisioning, you will be asked the language in which you first installEd WordPress.

Setting host name (domain)
Next, set the host name.
Please enter your domain name.
* If there is no domain, you can set the global IP address of the VM instance where KUSANAGI is running. However, usually, if you want to publish, prepare a domain.
By the way, The FQDN is a way of writing a domain name that does not omit, so i also attach www, http://and trailing / of the beginning is unnecessary.
You will be asked twice, so enter the same name.

Setting up SSL certificates(Let’s Encrypt configuration)
To issue an SSL certificate with Let's Encrypt, you need an email address.
If you do not want to issue SSL certificates for other services, enter your email address and use Let's Encrypt.
This also requires input twice.

Setting the database name
The setting of the database name.
Give it any name.
Even in kusanagiDB etc.
This also requires input twice.
※ The database name set here will be used later when the installation setting of WordPress.
Please refrain from forgetting.

Set a user name and password for the database
Then enter the user name and password to access the database.
The password is a-z, A-Z, 0-9、.! #%+_- sign is more than 8 characters.
Both must be entered twice.
*Use this information later.
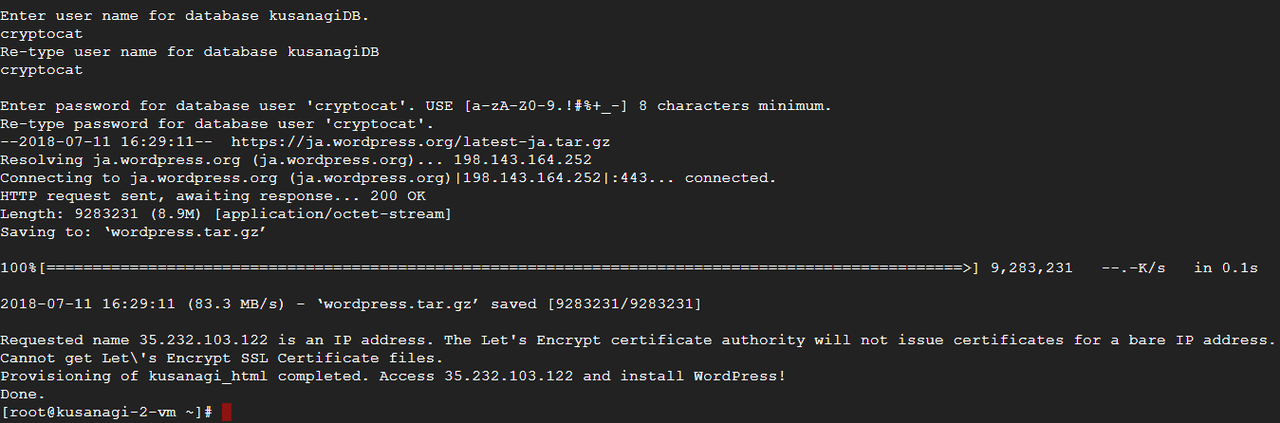
This is done!
You may be tired, but there are a few more.
Finally, install WordPress.
※ Do not close the console yet because you will use it later.
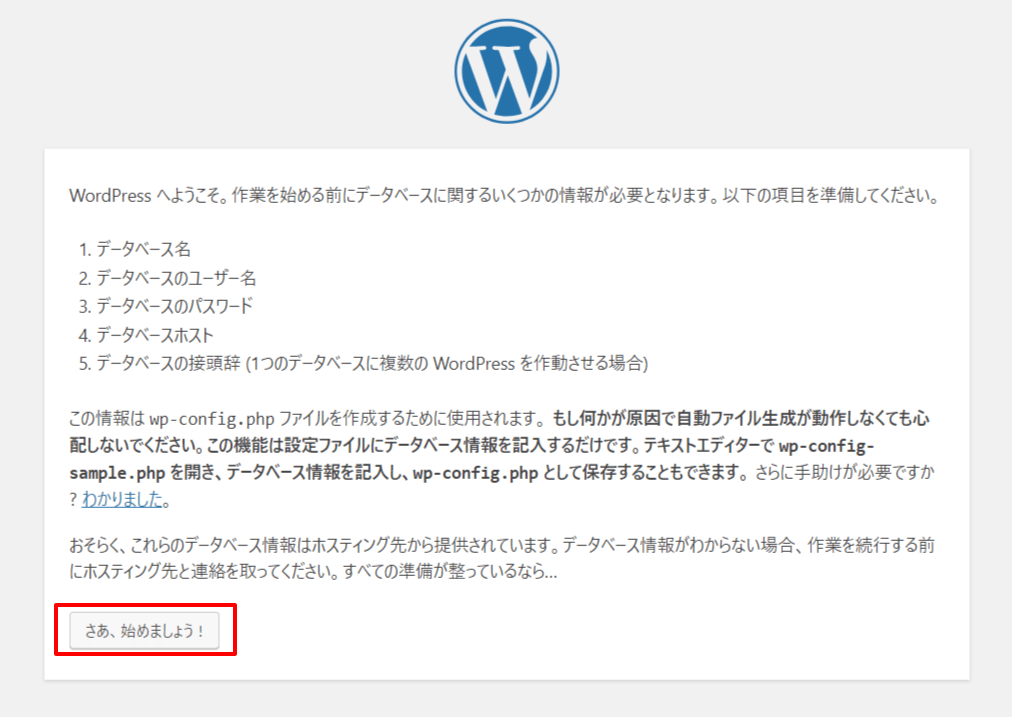
Install wordpress
WordPress Installation - Official Site -
Enter the host name (domain or IP address) configured in provisioning in the URL bar of your browser to access WordPress.
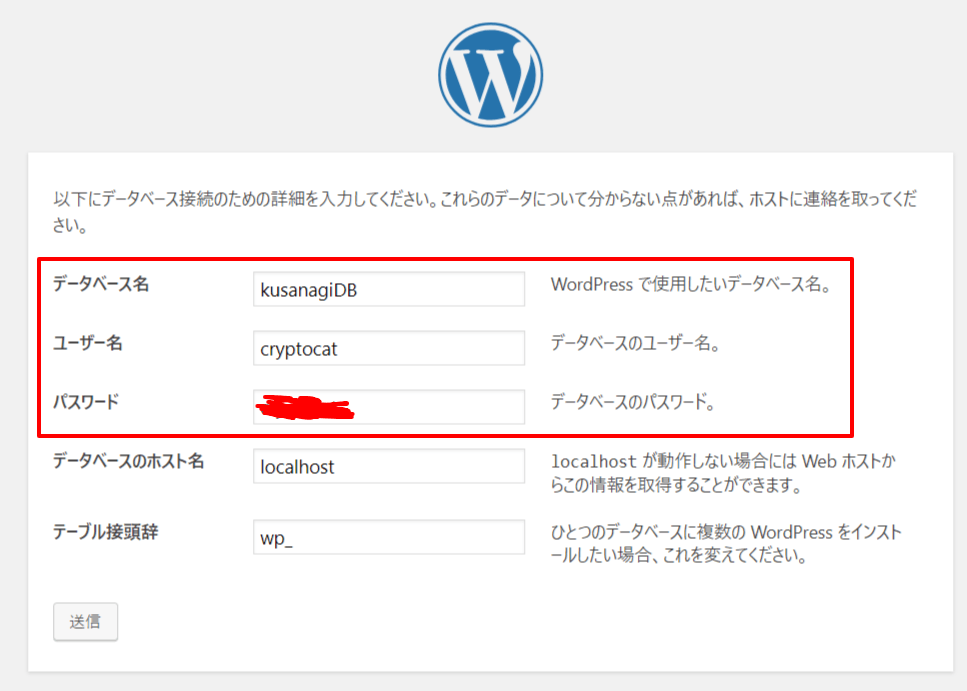
Entering database information
Enter the database name, user name, and password that you set at the end of provisioning and press Send.
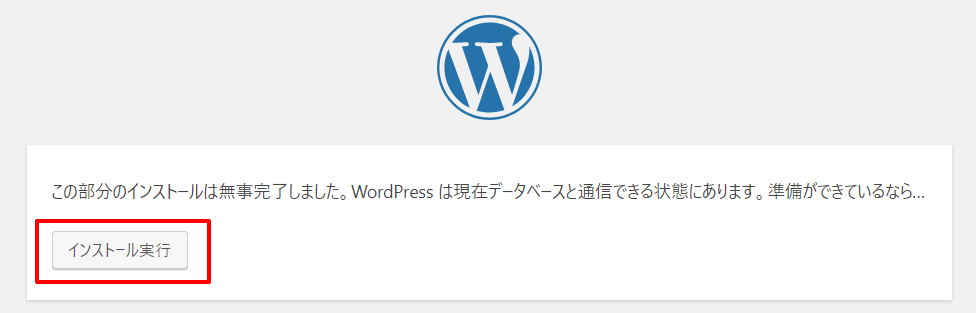
Press Install Run as it is.
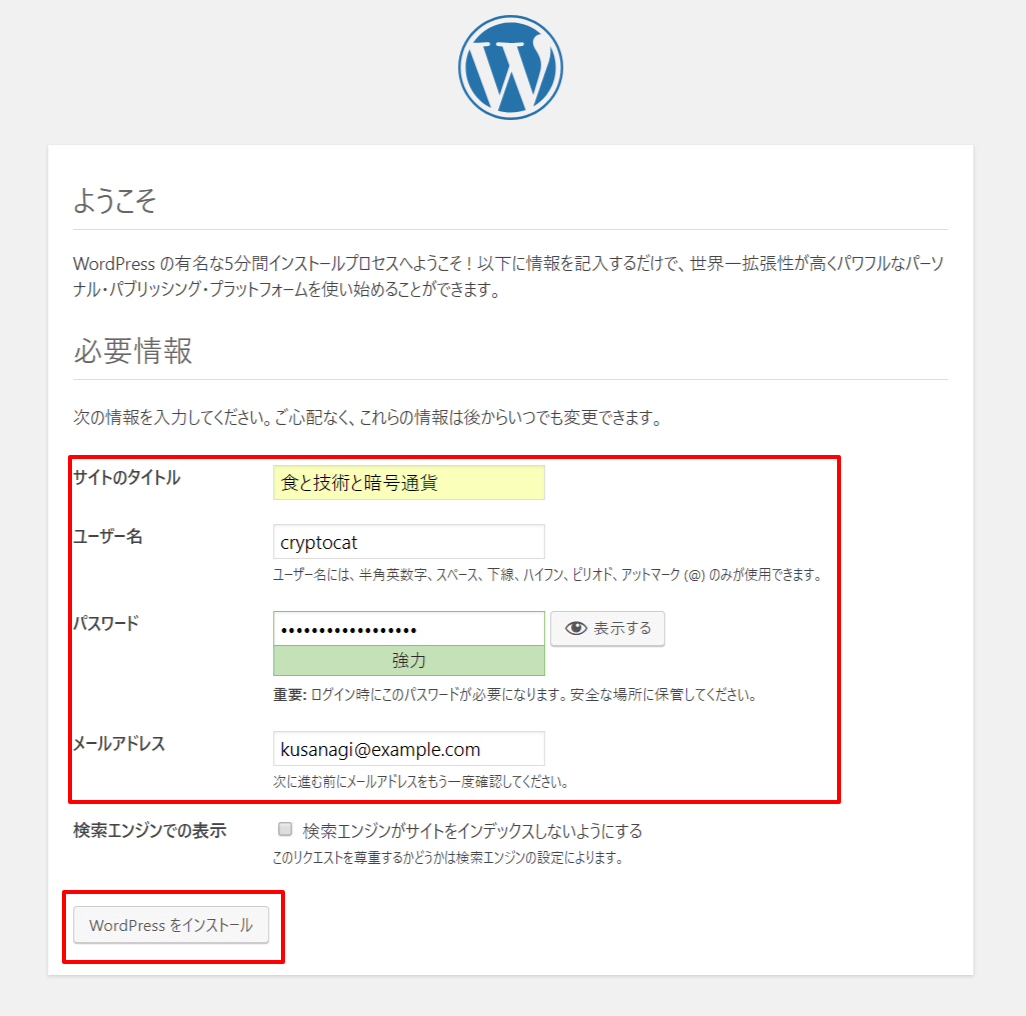
Enter site information
Enter and install basic site information, administrator login user information, and so on.
Log in when you're successful.
Log in with the username and password you have decided on above.

Once the dashboard is displayed, the installation is complete!
Improving security situations
There is no problem as a movement as it is, but there is the content that is displayed red in the security situation.
Let's turn this green to improve security.
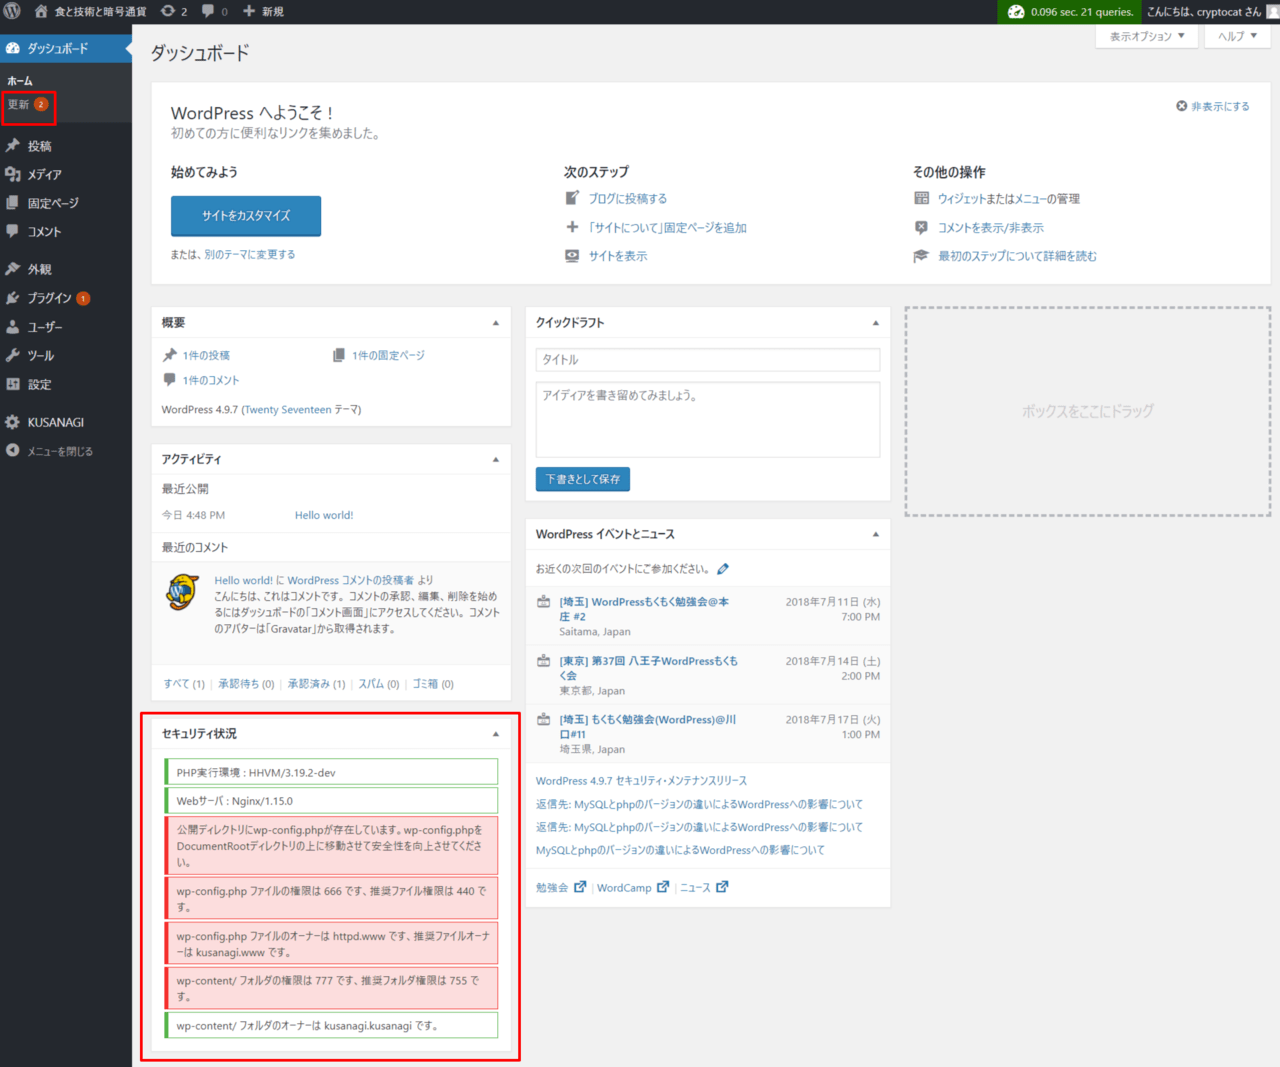
We will respond in order from the top.
Go back to the console and enter the following command and go to the wp-config.php location:
cd<KUSANAGI's initial profile name when provisioning>/home/kusanagi//DocumentRoot/</KUSANAGIのプロビジョニング時の最初に決めたプロファイル名>

Example)
cd /home/kusanagi/<span style="color: #ff0000;">kusanagi_html/</span>DocumentRoot/
If you type ls, the folder (green background) and file name in the current folder are displayed in the list.
By the way, the path to the current folder is displayed when you enter pwd.

Move wp-config.php with the following command:mv is a move folder/file command 、.. / means one up the hierarchy.
wp-config.php is in the DocumentRoot folder, so you can move it up one.
mv wp-config.php ../
Let's actually go and check with the ls command.You can see wp-config.php is moved.
cd ../
ls

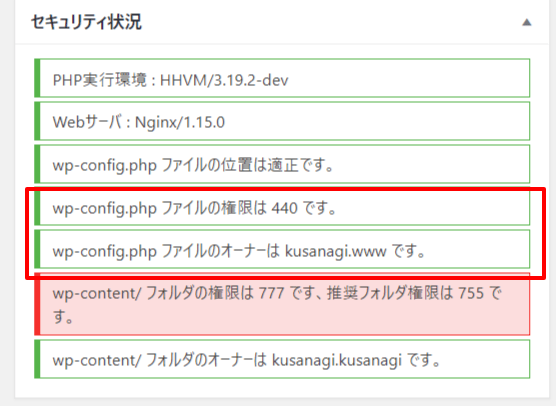
The security situation has been improved to one green when the browser is updated.

The next step is to change the permissions and owner of wp-config.php.
Enter the following command:
chmod 440 wp-config.php
<span>chown kusanagi.www wp-config.php</span>
Two items will be improved.
Finally, change the permissions of the wp-content folder.
Use the following command to re-navigate into the DocumentRoot folder and change the permissions.
cd DocumentRoot/
chmod 755 wp-content/
All security status have been improved!

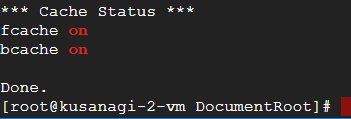
Enabling caching
KUSANAGI has two caches that can be accelerated by enabling it.
To view the current cache status, enter the following command:
kusanagi status
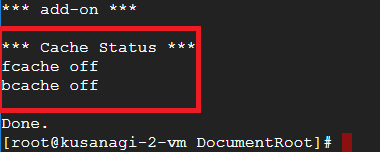
Turn the cache on by entering the following command:
kusanagi bcache on
kusanagi fcache on
If you check with kusanagi status again, both are on.
You're done with all the basic settings.
After that, let's create the site as you like by updating WordPress itself and installing plug-ins, installing and customizing themes, etc.


